- Published on
Cursor Registration Assistant User Guide
- Authors

- Name
- Kto
工具下载 | Tool Download
首先下载 Cursor 注册助手,你可以从以下 GitHub 地址获取最新版本: First, download the Cursor registration assistant from the following GitHub address:
GitHub Release 下载页面 GitHub Release Download Page
前置准备 | Prerequisites
1. 域名准备 | Domain Preparation
本教程以阿里云域名为例,你需要: This tutorial uses Alibaba Cloud domain as an example, you need to:
拥有一个域名
Have a domain name
能够修改域名的 DNS 设置
Able to modify the domain's DNS settings
2. Cloudflare 配置 | Cloudflare Configuration
Visit Cloudflare Dashboard
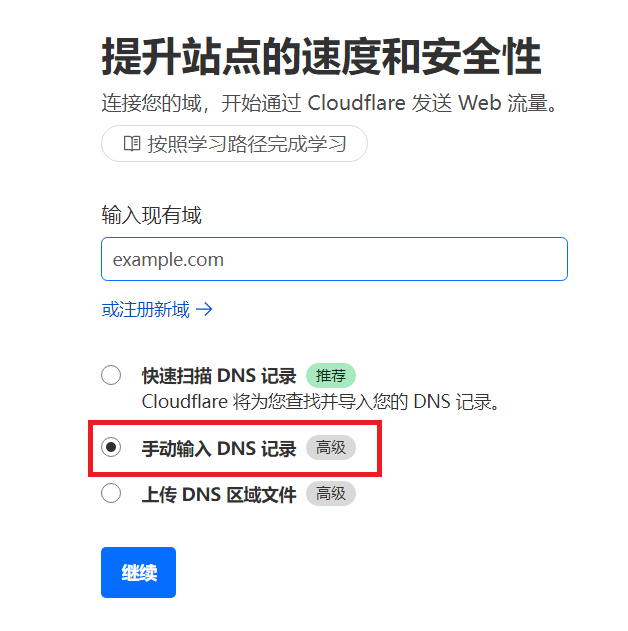
添加你的域名,选择"手动"模式
Add your domain and select "Manual" mode
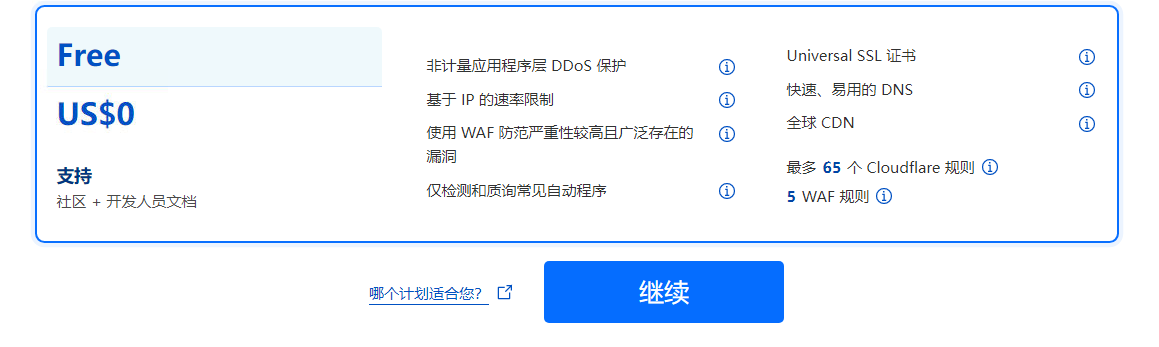
选择免费计划
Select free plan
3. DNS 设置 | DNS Settings
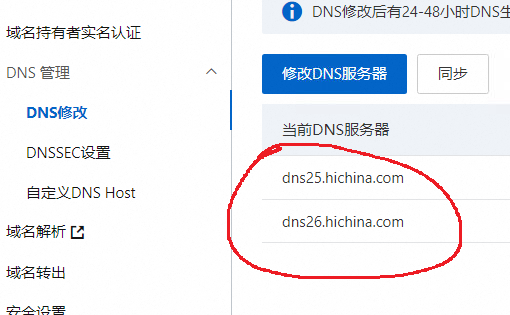
在 Cloudflare 中找到分配给你的 DNS 服务器地址
Find the DNS server addresses assigned to you in Cloudflare
点击查看大图:Cloudflare DNS设置 Click to enlarge: Cloudflare DNS settings
登录阿里云控制台,修改域名的 DNS 服务器
Log in to Alibaba Cloud console and modify the domain's DNS servers
点击查看大图:阿里云DNS设置 Click to enlarge: Alibaba Cloud DNS settings
4. 邮件转发设置 | Email Forwarding Setup
注意:需要等待 DNS 生效后才能进行此步骤 Note: This step requires DNS to take effect first
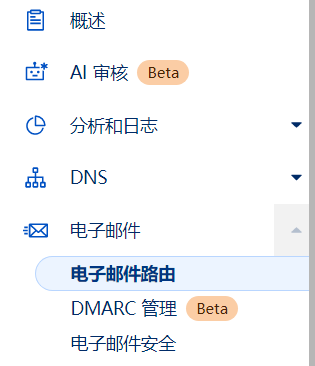
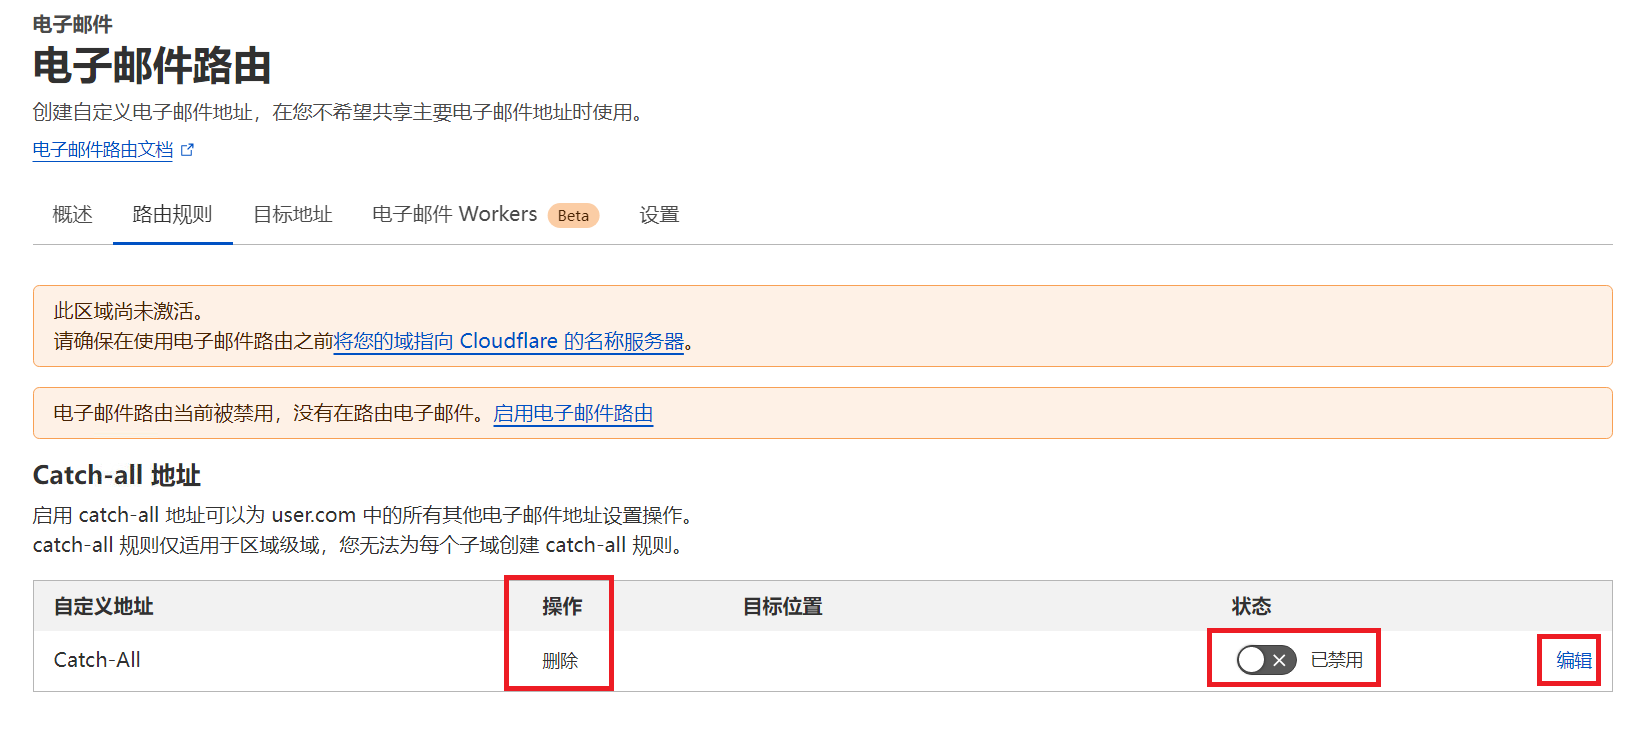
进入 Cloudflare 域名设置菜单,找到"邮件转发"选项
Go to Cloudflare domain settings menu and find "Email Routing" option
添加目标邮箱(需要进行验证)
Add destination email address (verification required)
启用 Catch-all 设置,并将规则设置为转发
Enable Catch-all setting and set the rule to forward
使用注册助手 | Using Registration Assistant
打开注册助手程序
Open the registration assistant program
在域名输入框中填入已配置好邮件转发的域名
Enter the domain configured with email forwarding in the domain input field
程序会自动生成账号和密码
The program will automatically generate account and password
访问 Cursor 官网 使用生成的信息注册账号
Visit Cursor Official Website to register an account using the generated information
获取 Cookie | Obtaining Cookie
注册完成后,需要获取特定的 Cookie 信息: After registration, you need to obtain specific Cookie information:
在账号页面打开浏览器开发者工具(F12)
Open browser developer tools (F12) on the account page
切换到 Network 标签页
Switch to Network tab
查找并复制名为
WorkosCursorSessionToken的 Cookie 值Find and copy the Cookie value named
WorkosCursorSessionToken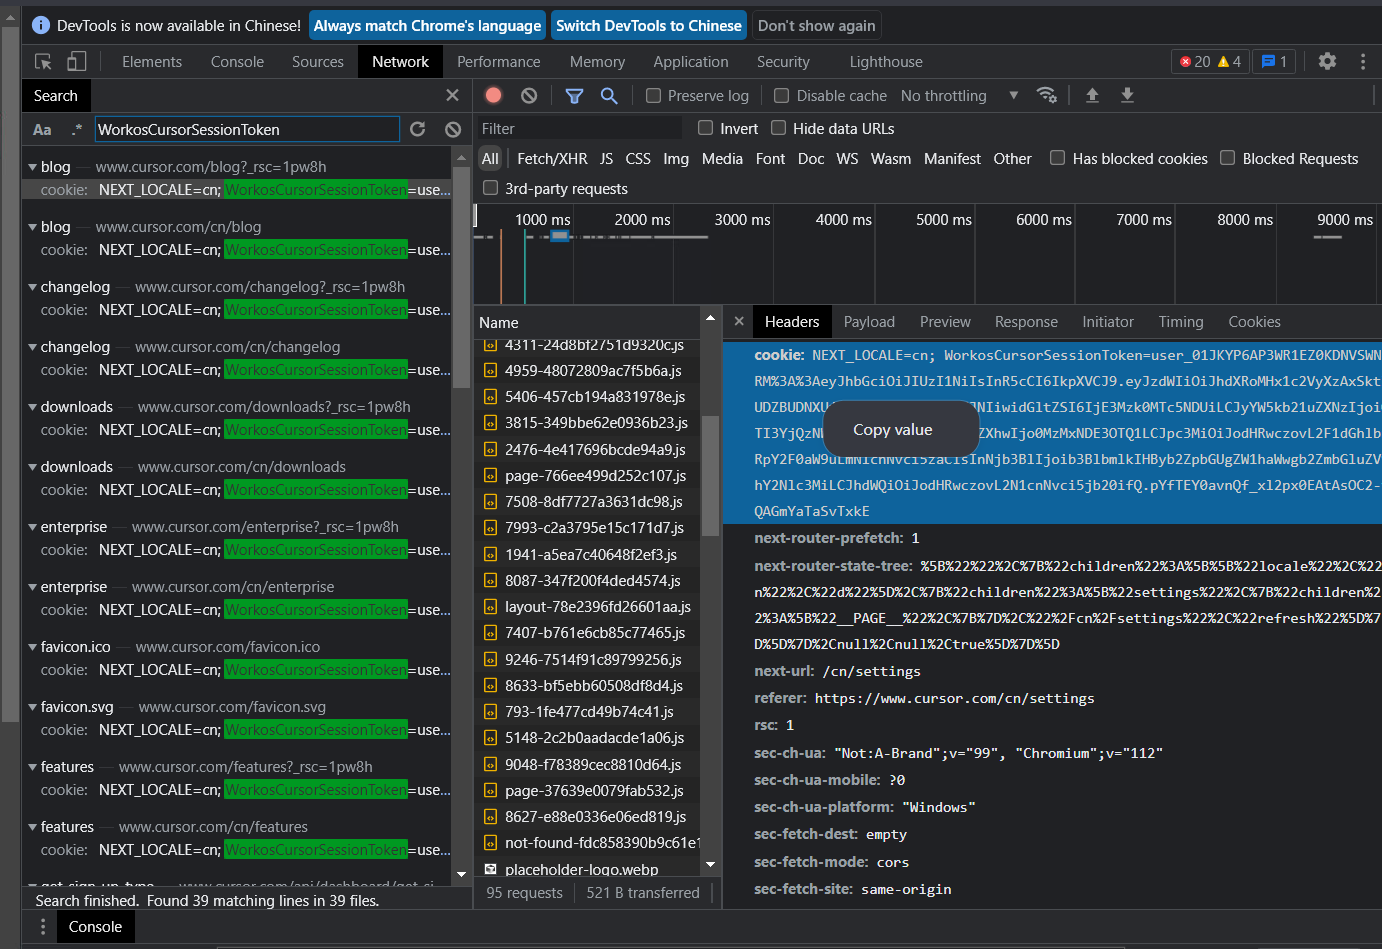
注意事项 | Notes
DNS 设置修改后需要等待一段时间才会生效
DNS settings take some time to take effect after modification
确保邮件转发配置正确,可以先测试一下
Ensure email forwarding is configured correctly, test it first
妥善保管生成的账号密码信息
Keep the generated account and password information safe